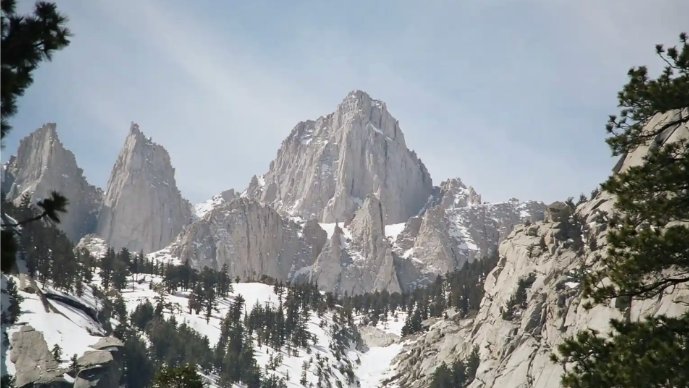
Mt. Whitney doesn’t ease you into anything. The standard route is a 22-mile round trip with more than 6,000 feet of elevation gain, done in a single push by most hikers who start well before sunrise and finish well after dark. At 14,505 feet, it’s the highest peak in the contiguous United States, and the trail treats that fact seriously. People who show up undertrained, unpermitted, or under-geared don’t summit, and some of them get hurt trying. Mt. Whitney hike preparation isn’t optional extra credit here. It’s the difference between a long, hard, good day and a genuinely bad one.
Navigating the Mt. Whitney Permit System
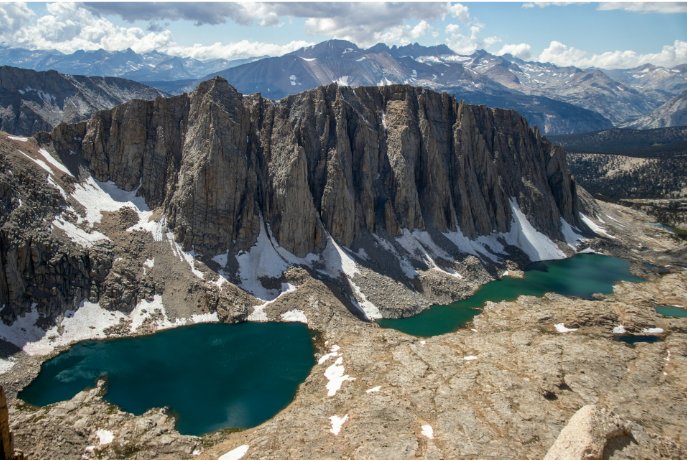
Before you train a single step, you need a permit, and the Whitney permit system rewards people who plan early and punishes people who don’t. The main lottery runs on Recreation.gov and applications are accepted from February 1 through March 1 for that year’s hiking season. Results post around March 15, and if you’re awarded a permit, you have until April 21 to pay for it. Miss that deadline and your slot goes back into the pool.
That deadline is where the opportunity hides. On April 22, at 7:00 a.m. Pacific, every unpaid and unclaimed permit from the lottery drops onto Recreation.gov on a first-come, first-served basis. Lottery odds are brutal, often worse than one in three for popular summer weekends, but the April 22 release sees a fraction of that traffic because most hikers don’t know it exists. If you missed the lottery window or got shut out, mark that date and time and be ready to search with your preferred dates on hand.
Beyond that, permits trickle back through cancellations all season, from May 1 through November 1. Refreshing Recreation.gov manually is tedious and mostly futile since slots vanish within minutes, but weekday dates and shoulder-season windows in early May or October cancel more often and sit unclaimed longer. If your schedule has any flexibility, weekday permits for Mt Whitney last minute planning are genuinely findable, especially outside of July and August.
Physical Training for a 14er
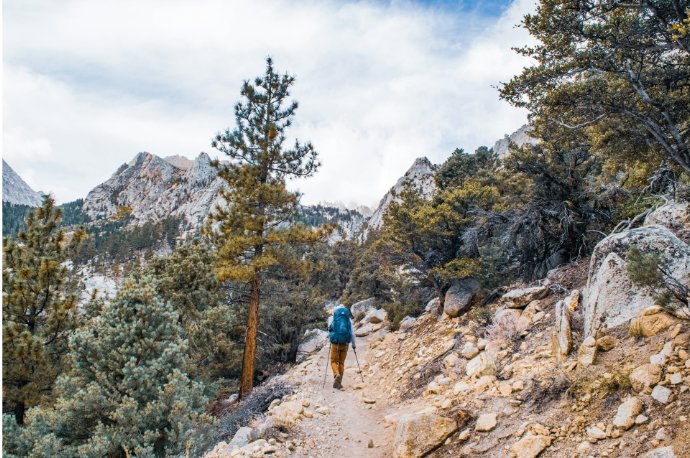
Whitney is a fitness test disguised as a hike. The elevation gain alone would be demanding at sea level, and you’re doing it while your body works harder for less oxygen. Give yourself a minimum of 12 weeks to prepare, longer if you’re starting from a sedentary baseline.
The core of your training should be time on your feet with a loaded pack, since that’s the specific demand the trail makes. If you live near real elevation, hike it weekly and build your pack weight gradually. Most people preparing for Whitney don’t have that luxury, which raises the obvious question: how do you train for a 14er at sea level? The answer is stairs and incline. Stadium stairs, parking garage stairwells, or a steeply inclined treadmill set around 15 to 20 percent grade become your mountain. Load a pack in the 30 to 40 pound range to start, and work up toward the weight you’ll actually carry on summit day, factoring in water, layers, and any overnight gear if you’re splitting the hike into two days.
Cardio work matters just as much as leg strength. Running, cycling, or stair intervals a few times a week build the aerobic base that keeps you moving efficiently above 10,000 feet, where even fit hikers slow down. Don’t neglect descent training either. Coming down 6,000 feet on tired legs is where a lot of knee and ankle injuries happen, and eccentric strength from downhill training pays off on the way out.
Essential Gear & High-Altitude Logistics
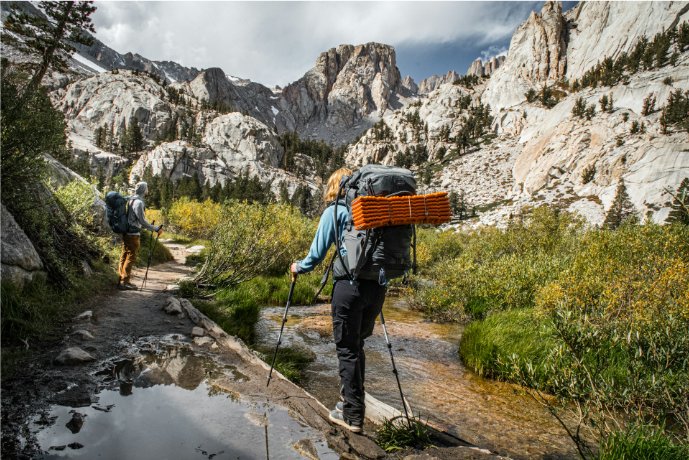
A good Mt. Whitney gear list goes well beyond a standard day-hike checklist. Layered clothing, a headlamp with spare batteries, trekking poles, and at least 3 to 4 liters of water capacity are baseline. Sun protection matters more than people expect above treeline, where there’s no shade and the exposure runs all day.
One item surprises first-timers: a WAG bag. The Whitney Zone requires every hiker to pack out their own human waste, no exceptions, because the trail sees heavy traffic through a fragile alpine ecosystem that simply can’t absorb it otherwise. Bring more than one and know how to use it before you’re on the trail.
Altitude sickness deserves real attention, not an afterthought. Symptoms like headache, nausea, and fatigue show up commonly above 10,000 feet, even in fit hikers. Acclimatizing for a day or two in the Owens Valley or at Whitney Portal before your summit attempt helps considerably, as does staying hydrated, eating enough, and turning around if symptoms worsen rather than pushing through them.
If you’re hiking in May, June, or into early July, snow changes the equation entirely. The switchbacks above Trail Camp routinely hold ice and snow well into summer, and crampons plus an ice axe aren’t optional gear in an early season year. Microspikes can substitute once conditions soften later in the season, but showing up with neither during a heavy snow year is a real safety gamble on exposed, sloped terrain.
Should You Hike Mt. Whitney Solo or Take a Guide?
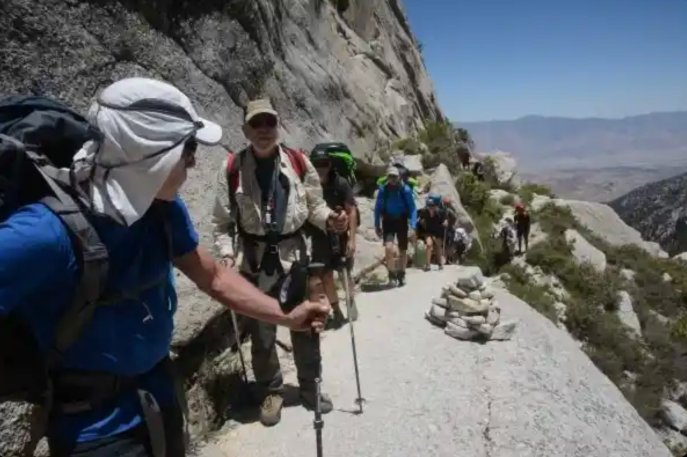
Most of the difficulty on Whitney isn’t the walking. It’s everything around the walking: securing a permit on a specific date you can’t move, carrying technical snow gear you may or may not know how to use, route-finding in the dark or in whiteout conditions, and making sound decisions when you’re tired and oxygen-deprived. DIY hikers manage all of that themselves, which is entirely doable with the preparation above, but it stacks risk on a trail that already has plenty.
A guided option changes the shape of the challenge. Rather than the single, crowded push most day hikers attempt, a Mt. Whitney guided hike via the Mountaineer’s Route typically spreads the climb over three days, building in real acclimatization time and avoiding the traffic jams that form on the standard trail during peak season.
If managing lottery dates and navigating technical snowpack feels overwhelming, booking a guided climb eliminates the logistical headache, ensures you have the right technical gear and someone experienced using it, and maximizes your chances of safely reaching the summit.
Are you ready to climb Mount Whitney?
Whitney rewards preparation and has little patience for improvisation. Get your permit strategy sorted early, train specifically and consistently for months rather than weeks, and take your gear list seriously, especially around snow and altitude. However you choose to tackle it, solo or guided, respect the mountain’s scale and give yourself every reasonable advantage. Do the work beforehand, and the summit becomes a formality rather than a gamble.




Leave a Reply